 Parathas and Punjabis are synonymous. Yes, there is Tangdi Kebab and Dal Makhani and Makki ki Roti with Sarson ka Saag, Rajma but parathas are by and large what any Punjabi will swear by. That may be radish or carrot stuffed paratha or cauliflower stuffed paratha but these are seasonal. Alu ka parantha on the other hand is ‘sada bahaar’ or evergreen. And this scrumptious stuffed flatbread has found favour with almost every state of Indian now. Just as idlis or dosas are loved by almost every Indian, so it seems are the alu paranthas.
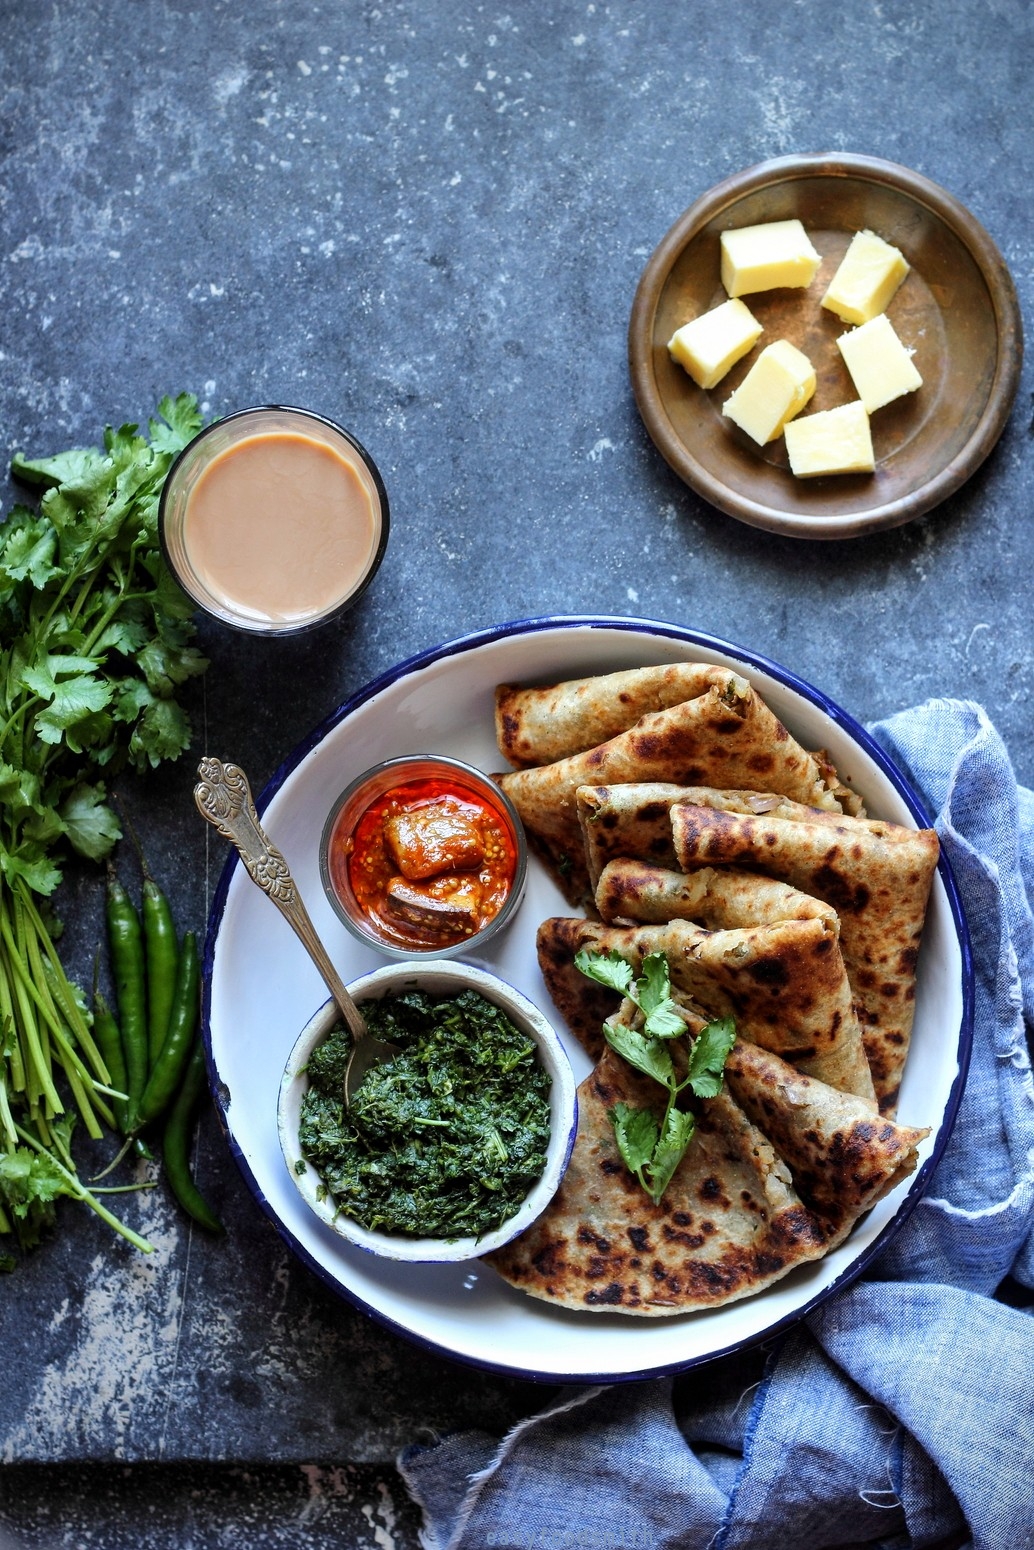
There was a time when our winter breakfast used to comprise primarily of paranthas of all kinds, paired with some sort of pickle, green chutney and yogurt. However, after moving to Mumbai, we have them occasionally except for the two months (Jan & Feb) of winters here, when they are made frequently.
I am sharing below, few tips and tricks to help you make perfect alu ka paratha every single time. These will help you deal with problems such as unevenly spread filling or filling popping out of the flatbread while you roll it.
- To begin with, ensure that the potatoes are just about done. They should not be over cooked. If your potatoes are too starchy, it won’t work for parantha. I always pressure cook them till one pressure whistle escapes. Switch the heat off, wait for the pressure to release on its own. Open the pressure cooker and remove and plunge the potatoes immediately in cold water. Once they are no longer hot to touch, immediately remove them from water and leave to cool completely.
- Next thing to keep in mind is, not to over work with (i.e. mashing too much) the potatoes. Use potato masher and press each potato no more than twice. Gently press any large pieces with back of fork once and that is it. Over mashed potatoes will release starch and keep popping out of the dough while you roll it. (We are not making mashed potatoes or potato cutlets that you need to mash and mix all ingredients together.)
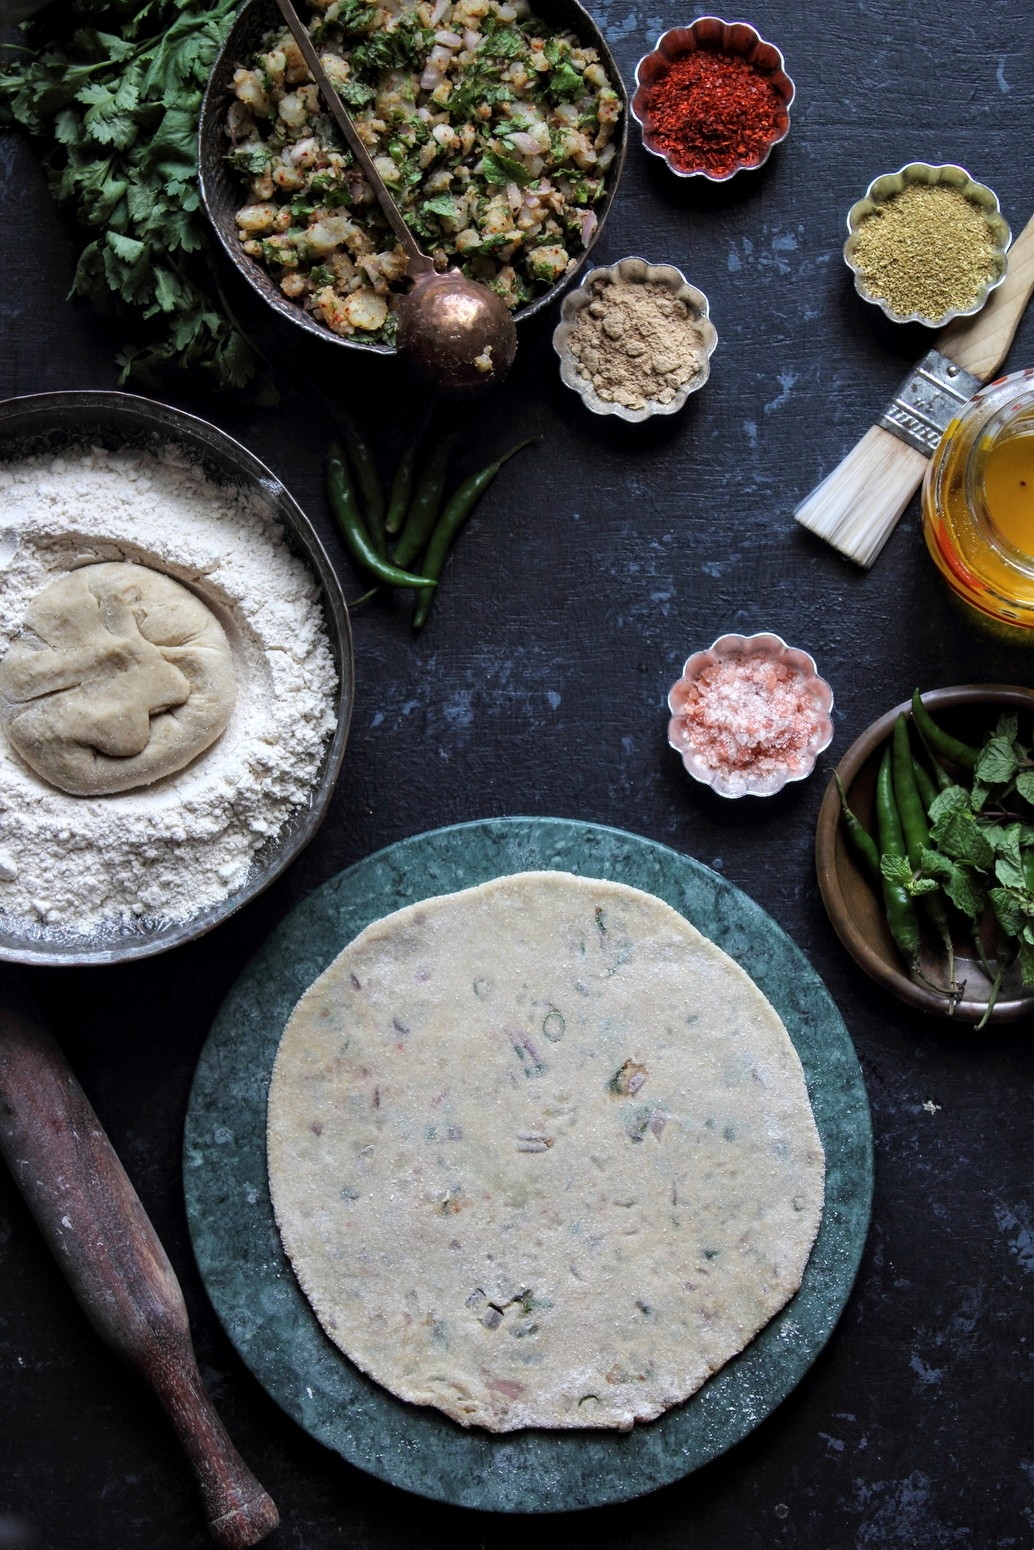
- In your zealous attempt to ensure that all ingredients are well mixed, do not over mix the potato mixture. Instead, use a fork or spoon (I prefer spoon) to mix all the ingredients gently into the potatoes. (Check out the picture of the potato mixture, below, to see the right texture)
- As a thumb rule, a medium sized potato i.e. anywhere around 75 to 80 grams in weight, will yield filling for two paranthas of seven inches size. So, before you keep the potatoes for boiling, calculate the portions accordingly.
- Last but not the least, make sure the dough is well kneaded and rested before you fill and roll the parantha. With these things in control, you are bound to make perfect parathas every single time 😊
 For Dough
3 C Aata (Wheat flour)
300 – 320 ml Water
½ tsp Salt (optional)
Take a mixing bowl and add aata to it. Pour 300 ml of water and bring the dough together.
(I needed an extra 20 ml for kneading)
Once the dough comes together, start kneading it till you attain a medium soft dough.
You will probably have to knead the dough for 5 – 7 minutes depending on the quality of the dough.
The amount of water too needs to be adjusted according to the quality of the dough. (if the dough is too loose add a few tablespoons of aata / flour) Branded aata usually needs less water since it is very finely ground while mill grounded one needs a little more since it has more husk as compared to the branded ones. (I always use mill grounded aata i.e. chakki ka aata since it is healthier, although not necessarily cheaper)
Leave the dough to rest for 15 minutes before you start making the balls, filling them and making paranthas.
Meanwhile, begin making the filling.
Yield – Makes 12 equal sized dough balls for the parantha
(yield will be higher in case you wish to make chapatis with it)
 For Filling
5 medium sized Boiled Potatoes (approx. 450 – 500 grams),
{Check tips in the beginning of the post on how to boil potatoes for this recipe)
¾ C finely chopped Red Onion
¾ C lightly packed mint leaves
½ C finely chopped Coriander (Cilantro)
1 – 2 tbsp finely chopped Green Chilies (adjust heat to taste)
1 tsp Red Chili Powder (adjust heat to taste)
2 tsp Coriander Powder
½ tsp Garam Masala
1½ tsp Amchur (Dry Mango Powder)
2 tsp Chaat Masala
Salt to taste (Since chaat masala also has salt, adjust amount of salt accordingly)
In the beginning of this post I had shared the tips on how to mash the potatoes, follow those instructions and mash the potatoes accordingly.
Chop the mint leaves (I usually add tender stems of the mint along with the leaves)
Add rest of the ingredients and mix them using a fork or a spoon (simply mix them, do not mash the potatoes at any point to mix the ingredients)
 Making Paranthas / Flatbreads
1 C Wheat flour (for rolling the dough)
¾ C Oil for frying Parantha
Make equal sized balls using the dough. You should be able to have approximately 12 dough balls of equal size.
Heat a skillet on medium flame. Take one dough ball and using a rolling pin, roll the dough to approximately four inches diameter. Fill the dough with two to two & half tablespoons of the filling. Bring the edges together and seal them (check here how to do this There is a picture that will help you understand the process) Flatten the dough ball gently, using your hands. Dust it in lots wheat flour and begin to roll it to seven inches diameter, using flour if required.
Gently place the rolled flatbread over the hot skillet. Flip the flatbread once the top begins to change color and the bottom has brown spotted marks. Flip again once the bottom side has lots of brown marks. Apply a teaspoon of oil and flip to fry. Fry and cook, while pressing and rotating the parantha with a cloth made into a ball or back of a large spoon, to make it crisp and deeper in colour. Flip and oil the other side (it is optional and I never do this) and cook it the same way. Cook all paranthas this way. (I fry them on medium high heat)
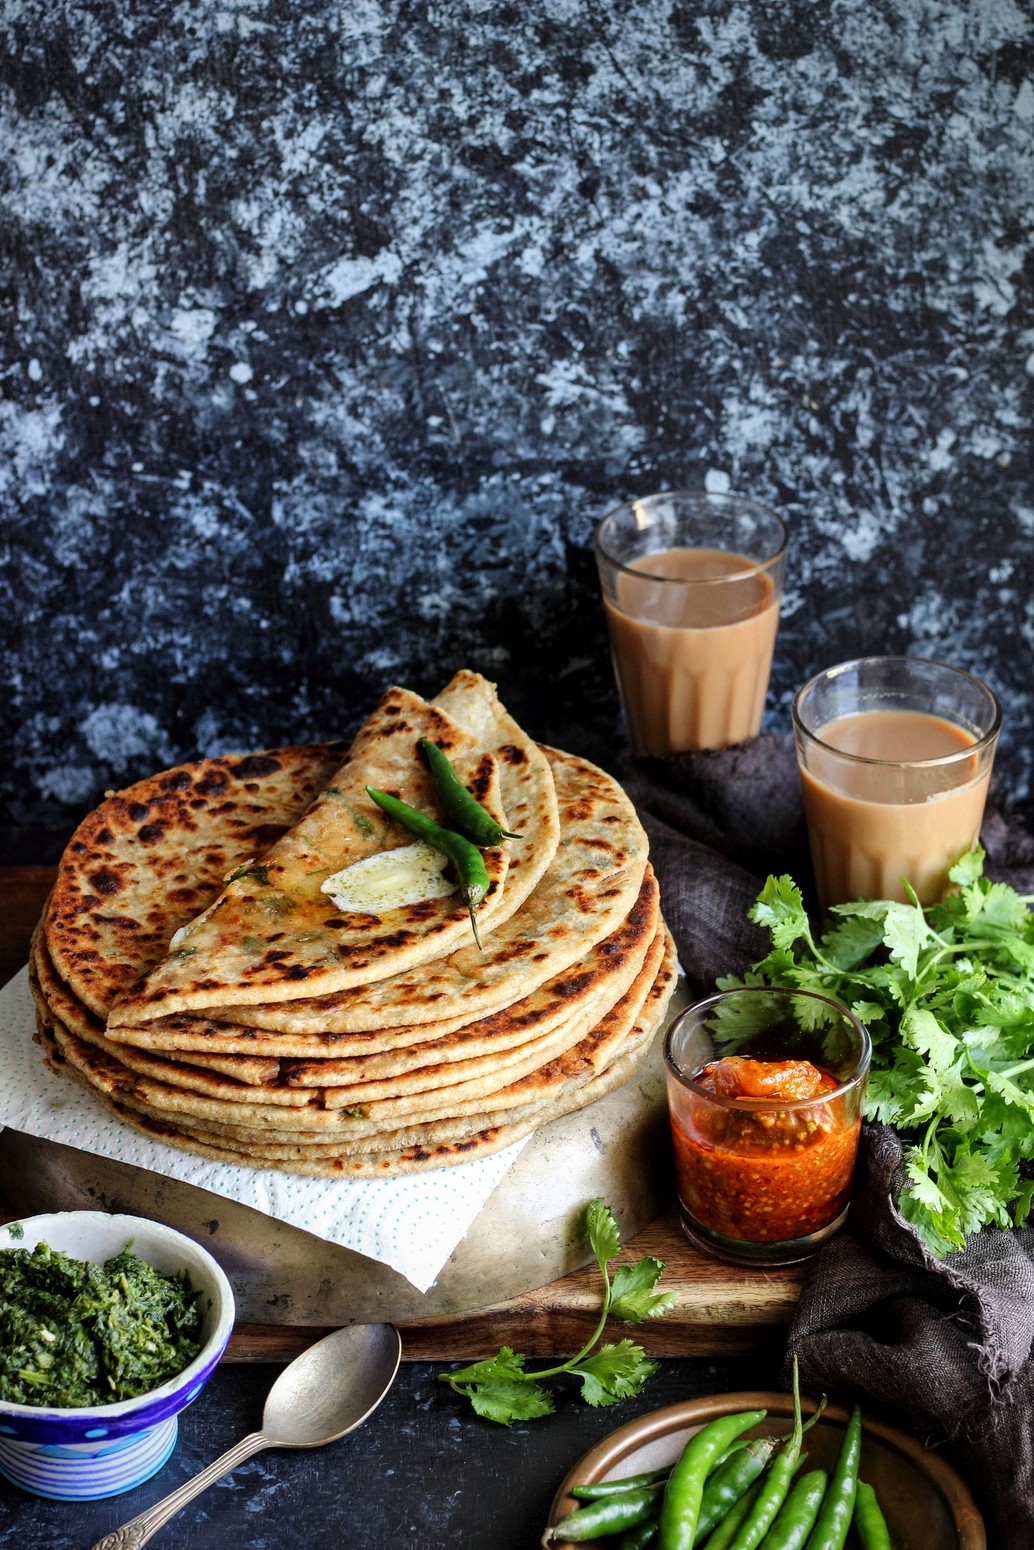
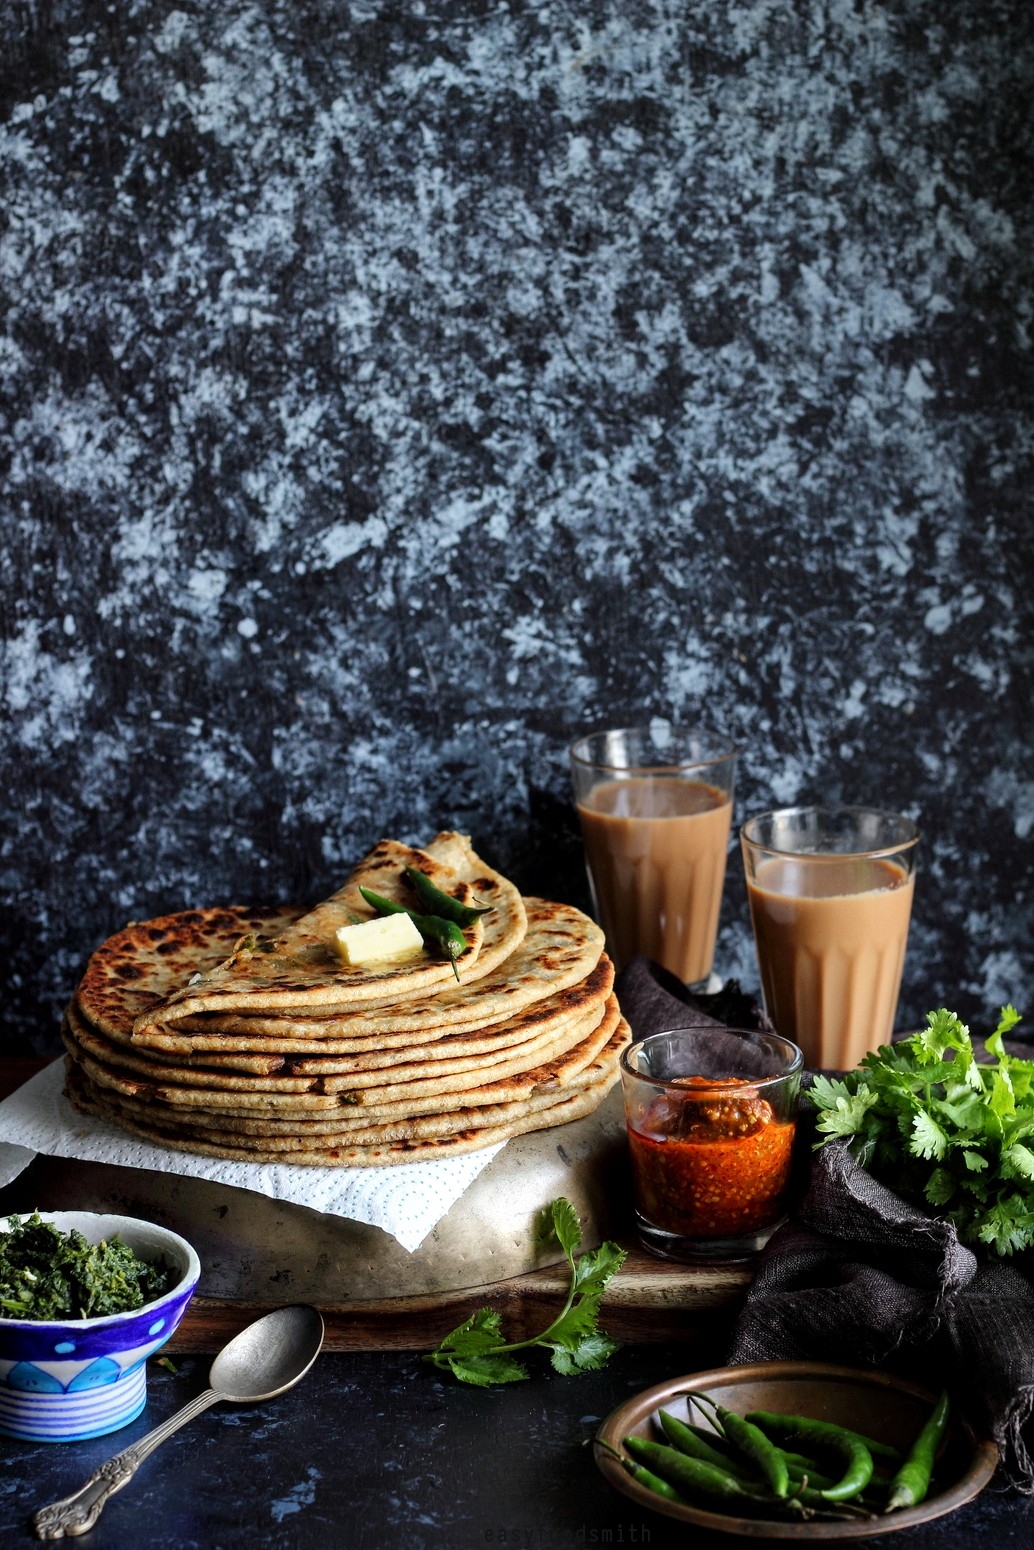
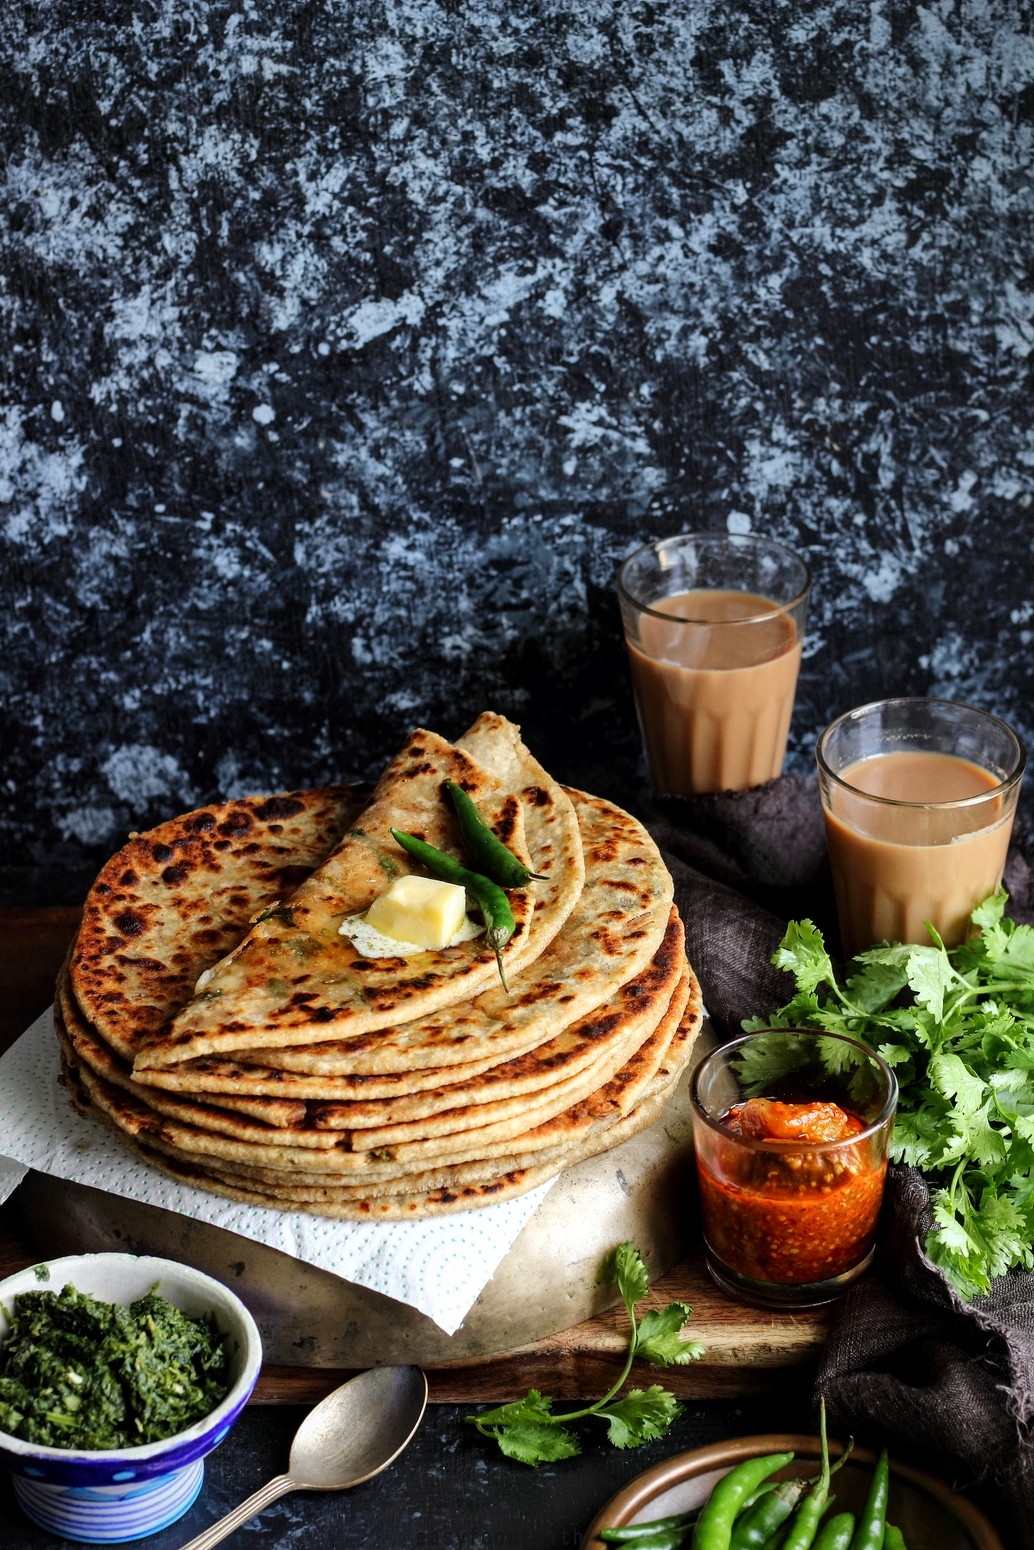
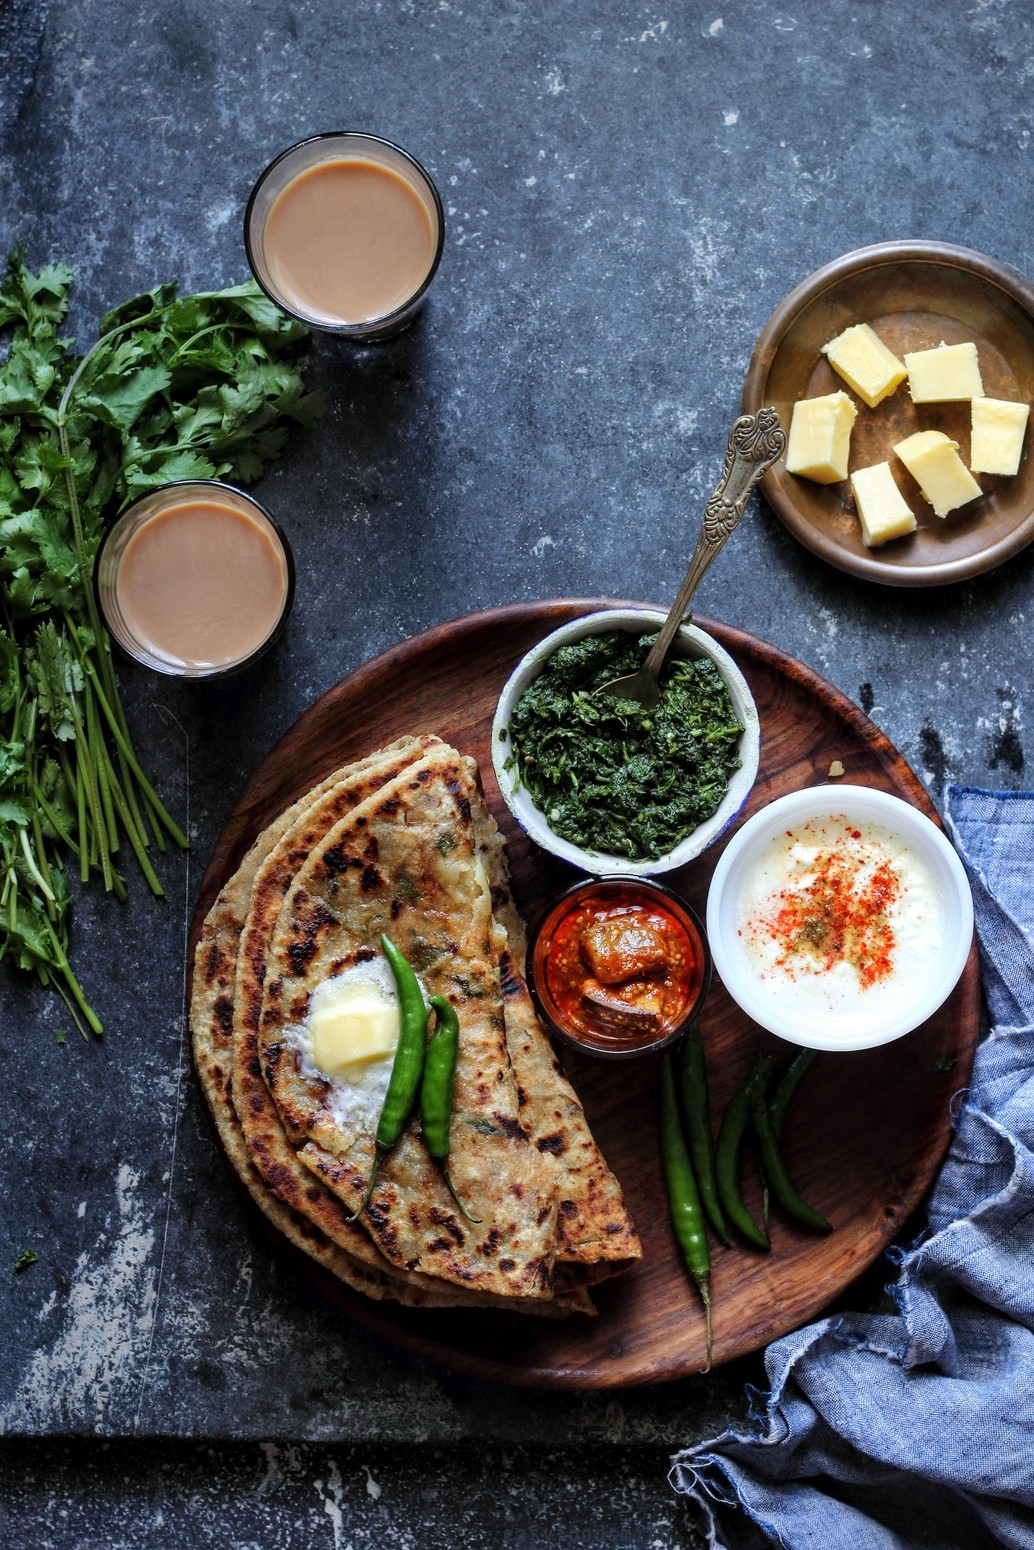
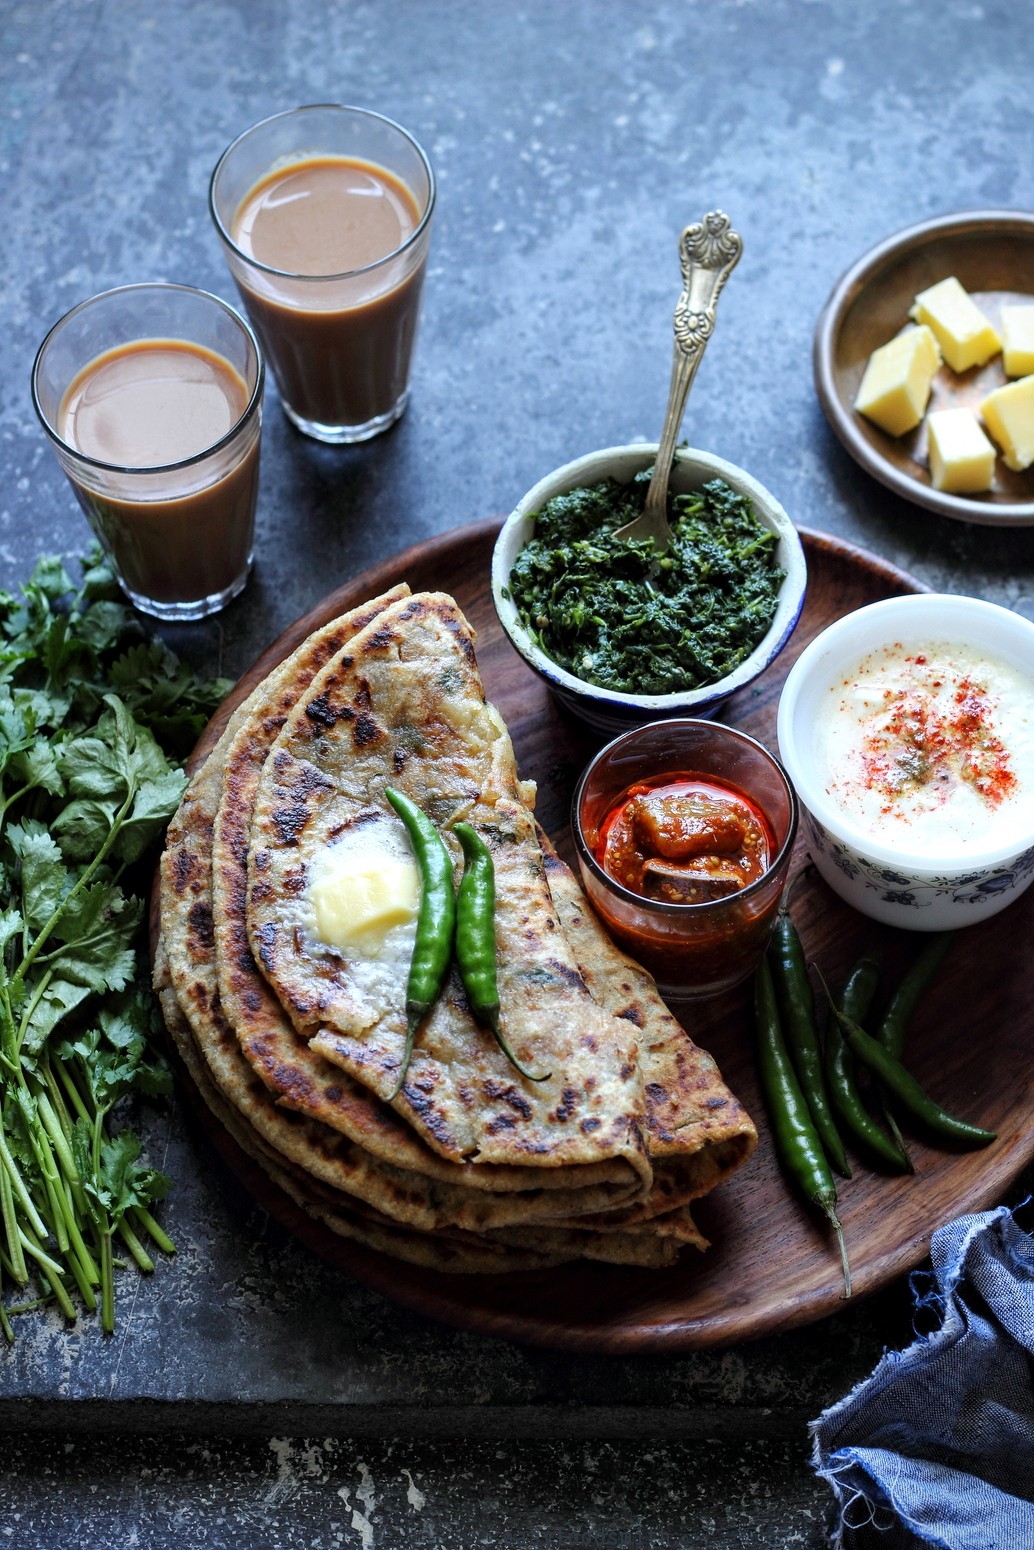
Remove the flatbread from the skillet and serve hot immediately with cultured butter, green chutney (I always use coarsely ground to go with flatbreads), pickle, yogurt and/or chai. Enjoy!
(Do not forget to check notes at the end of the post)
YIELD – 12 Flatbreads
 Note – There are two ways that you can proceed with the recipe. One is to keep the dough balls ready with the filling. This way, you simply need to roll out the dough balls and fry them one followed by the other.
Or, the second option is to roll one and cook it along, while you fill the next dough ball and roll it. For this option, you need to be an expert to keep the process going like a well-oiled machine. Other wise you will have to keep controlling the heat of the skillet.
Note – I always dust the stuffed dough with lots of flour and do not use the flour again while rolling. Coz too much flour on the flatbread, burns when you fry the flatbread. So ensure that you use the flour judiciously while rolling the dough to avoid this issue.
Note – Some people prefer to fry the potatoes, for filling, along with the other ingredients of the filling but I never do that since I never saw my mother do that and I have been following her recipe ever since.
Note – Roll the paranthas, as thick or as thin as you desire. I prefer them on the thinner side since it yields crisp paranthas that are enjoyed by everyone at my home.
They are enjoyed best when they are served immediately – hot & crisp right off the skillet 😀
Note – For convenience, I sometimes roll and half cook (not frying) the flatbreads in advance and cool them before I store them (they keep well for two to three days in the fridge). I fry them just before serving.
Note – In case you have left over filling, it won’t work that well for the parantha the next day since it now has moisture in it from the herbs and onions. But it can be easily used for making sandwiches / toasties.
 Thanks for your visit and see you soon again with another exciting recipe!
Love all sorts of Indian flatbreads..stuffed or not. These paratha look amazing!
Taruna, these alu paratha are stunning! Your pictures are so beautiful and have me craving these yummy breads! Thank you for such great tips and step by step instructions. I’ll definitely give it a go!
As always, your recipes sound and look delicious! I imagine these potato flatbreads would go well with a bowl of homemade soup.
These bread looks delicious, and I am loving the filling with mint…thanks for the recipe.
Have a great week!
Yummy and filling for breakfast,looks so good!
I love Indian breads, and this one is one of my favorites. I’ve had it often in restaurants, but never made it. That needs to change! This looks wonderful — thanks.
These look so delicious! I’d love to have a warm paratha with green chutney right now.